

Making your own hat is a fun and rewarding sewing project. Whether you want to create a stylish bucket hat, a comfortable sun hat, or a personalized cap, a standard sewing machine can help you turn your fabric into a wearable accessory. With the right materials, a suitable pattern, and a little patience, you can create a hat that fits your style and personality.
If you have been wondering how to sew a hat with a sewing machine, this guide will walk you through the process, from choosing your fabric to adding the finishing touches. You will also learn which sewing machine is best for hat-making, how to personalize your design, and how to achieve professional-looking results at home.
What You Need to Make a Hat With a Sewing Machine
Before you begin, gather your supplies. Having everything ready will make the sewing process easier and help you avoid unnecessary interruptions.
Here is what you will need:
-
A sewing machine with a straight-stitch function
-
Fabric suitable for your chosen hat style
-
Matching or contrasting sewing thread
-
A hat sewing pattern
-
Fabric scissors or a rotary cutter
-
Measuring tape
-
Pins or fabric clips
-
An iron and ironing board
-
A fabric marker or tailor’s chalk
-
Optional interfacing for extra structure
Cotton is an excellent choice for beginners because it is easy to handle and available in many colors and prints. Canvas and denim work well for structured hats, while lightweight cotton or linen is ideal for breathable summer designs.
Choose a pattern that matches your skill level. A simple bucket hat is a great starting point because it typically consists of a crown, a side band, and a brim.
Read Also: How to Make a Bag With a Sewing Machine: A Complete Guide
Step 1: Measure Your Head and Choose a Pattern
The first step in learning how to make a hat with a sewing machine is getting the measurements right. A hat that looks attractive but does not fit comfortably will rarely become a favorite accessory.
Use a flexible measuring tape to measure around the widest part of your head, just above your eyebrows and ears. Keep the tape comfortably snug without pulling it too tightly.
Write down your measurement and compare it with the sizing chart provided with your pattern. If you are between sizes, check the pattern instructions for guidance on adjusting the fit.
Next, select a pattern for your desired style. Beginners may find a bucket hat easier to construct than a fitted baseball cap, which often requires more precise shaping and additional components.
Read the pattern instructions before cutting your fabric. Pay attention to seam allowances, fabric grain direction, and any recommended lining or interfacing.
Step 2: Prepare and Cut Your Fabric
Once you have selected your pattern, prepare the fabric. Wash and dry it according to its care instructions if it is likely to shrink. Press it with an iron to remove wrinkles so that your pieces will be accurate.
Lay the fabric on a flat surface and arrange the pattern pieces according to the pattern layout. Trace around each piece with tailor’s chalk or a fabric marker, including the required seam allowances.
Cut out all the pieces carefully. For a basic bucket hat, you will generally need:
-
Two crown pieces if your pattern uses a separate outer crown and lining
-
One or more side-band pieces, depending on the pattern
-
Brim pieces for the outer fabric and lining, if applicable
-
Interfacing pieces if your design requires additional structure
The exact number of pieces will vary by pattern. Label them if necessary to avoid confusion during assembly.
If you want a firmer brim, apply lightweight interfacing to the appropriate fabric pieces according to the manufacturer's instructions. This can help the hat maintain its shape without becoming uncomfortably stiff.
Explore Also: Sewing Machine For Hats
Step 3: Set Up Your Sewing Machine
Before sewing, install a suitable needle, thread the machine correctly, and test your stitch settings on a scrap of the same fabric.
For most lightweight and medium-weight cotton fabrics, a universal needle is a good starting point. Use a stronger, appropriate needle for heavier materials such as denim or canvas.
A straight stitch is sufficient for most hat seams. A stitch length of approximately 2.5 mm is a useful starting point, although you may need to adjust it depending on the fabric and pattern instructions.
Check that the upper thread and bobbin are feeding correctly. If your machine allows you to adjust tension, test the stitches before sewing the actual hat.
Understanding these basics is an important part of learning how to make a hat using a sewing machine. Accurate stitching and consistent seam allowances will help your finished hat look neat and hold together well.
Step 4: Sew the Crown and Side Band
Begin by assembling the crown and side band according to your pattern.
If your crown consists of multiple panels, place the pieces together with their right sides facing each other. Pin or clip the edges, then sew the seams using the specified seam allowance. Backstitch at the beginning and end of each seam to secure the stitching.
Press the seams as you go. Pressing helps reduce bulk and creates a cleaner finish.
Next, join the side band into a loop if your pattern includes one. Match the seam edges carefully and sew them together. Attach the side band to the crown, distributing the fabric evenly around the circumference.
Curved seams can be tricky for beginners, so work slowly and avoid stretching the fabric. Stop with the needle down when you need to reposition the material.
If your pattern includes a lining, assemble the lining pieces in the same way. Accurate construction at this stage will make the brim easier to attach later.
Step 5: Attach and Finish the Brim
The brim gives your hat its shape and practical purpose. Depending on the design, it may be narrow and flexible or wide enough to provide extra shade.
Sew the brim pieces together as directed by the pattern. If the brim has a curved outer edge, carefully clip the seam allowance where necessary, taking care not to cut through the stitching. This helps the fabric lie smoothly when turned.
Attach the inner edge of the brim to the lower edge of the hat body, matching the seams and distributing the fabric evenly.
If your hat has a lining, follow the pattern instructions to enclose the raw edges neatly. Some patterns leave a small opening for turning the hat right side out; this opening can be closed with a discreet line of machine stitching or hand stitching.
Press the brim carefully. To help it hold its shape, sew one or more rows of topstitching around the brim, keeping the spacing consistent.
Your hat is now taking shape. Check the fit, trim any loose threads, and make sure all seams are secure before moving on to decoration.
Step 6: Personalize Your Hat
One of the best parts of making your own hat is customizing it. You can add a decorative ribbon, contrast stitching, fabric appliqués, embroidery, or a small label to make the design unique.
If you are making a summer hat, consider using a contrasting fabric for the underside of the brim. For a casual bucket hat, a printed cotton fabric can add personality without requiring complicated construction.
Can You Sew Letters on a Hat With a Sewing Machine?
Yes, you can sew letters on a hat with a sewing machine, although the method depends on your machine and the type of lettering you want.
For simple lettering, you can use a compatible decorative stitch or free-motion embroidery technique if your machine supports it. Some machines also offer built-in lettering stitches or embroidery functions. A separate embroidery machine may be more suitable for intricate designs or repeated professional-quality lettering.
Flat fabric panels are usually easier to personalize before assembling the hat. If you want to sew letters onto a finished cap, access can be more difficult because the crown may not fit comfortably beneath the presser foot.
For beginners, fabric appliqué letters are another option. Cut the letters from a suitable fabric, secure them in place, and stitch around their edges. Always test your technique on a scrap piece first.
What Sewing Machine Is Used to Make Hats?
The answer depends on the style of hat you want to create.
A standard domestic sewing machine with straight stitching is suitable for many beginner projects, including bucket hats, fabric sun hats, and simple reversible hats. A machine with adjustable stitch length, reliable fabric feeding, and a free arm can make certain sewing tasks easier.
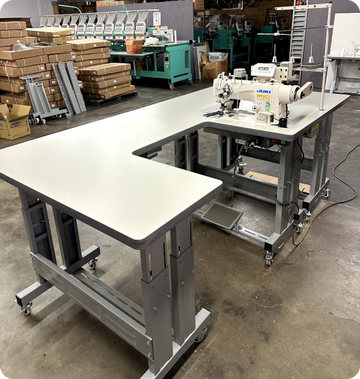
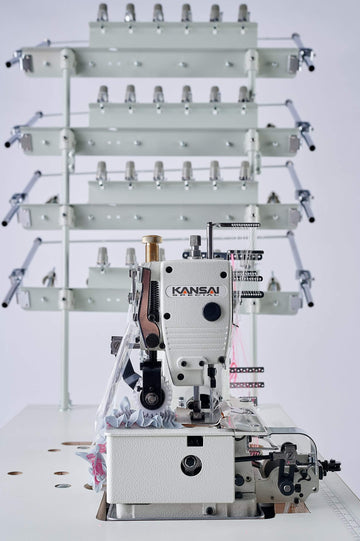
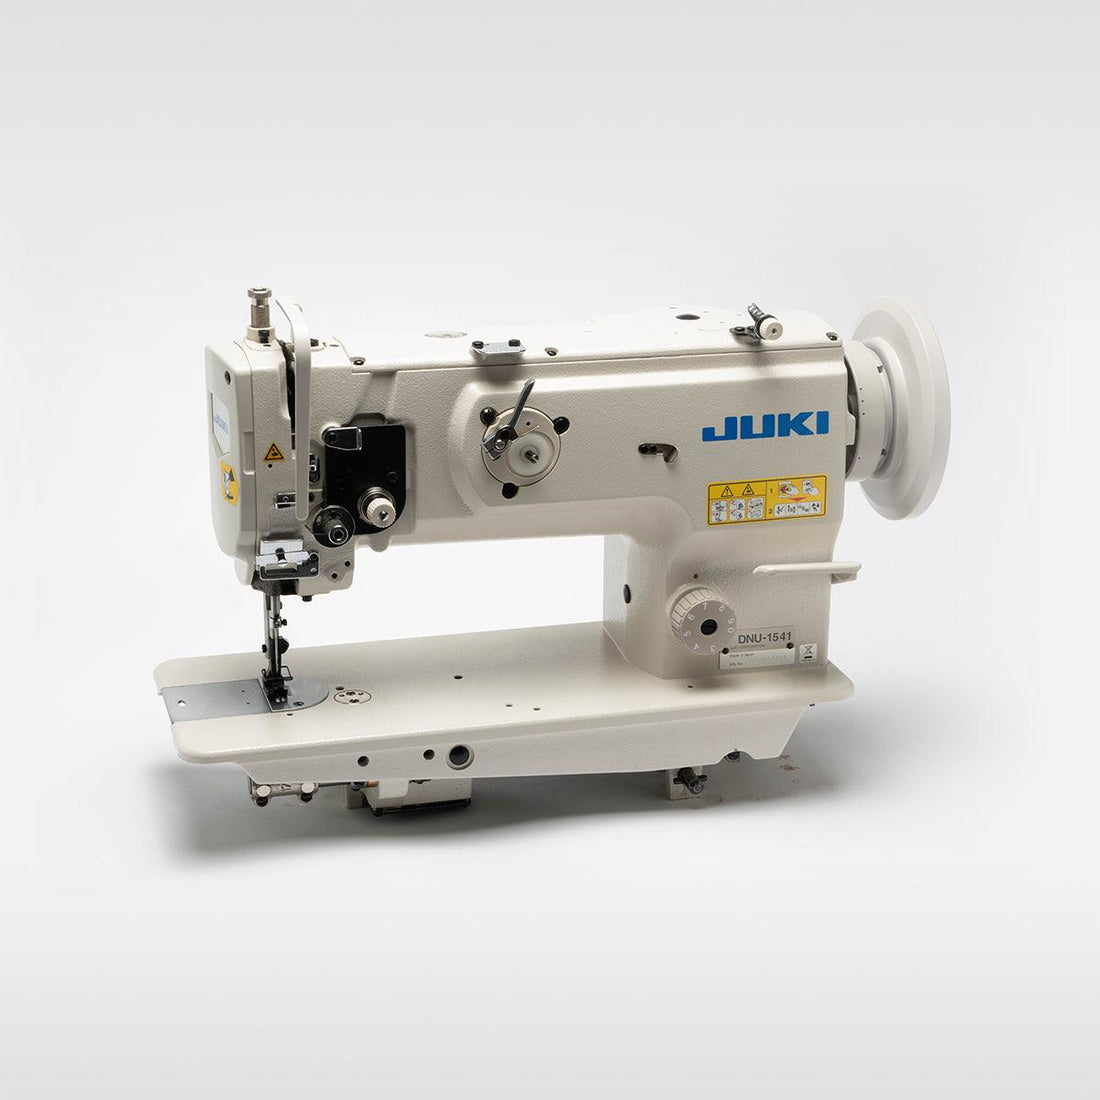
For baseball caps, structured hats, or heavier materials, specialized industrial sewing machines may be used. Depending on the construction, professional production can involve machines designed for curved seams, heavy fabrics, brim stitching, or embroidery.
If you are just starting, you do not necessarily need an expensive or specialized machine. Choose a machine that handles your fabric comfortably and allows you to control your stitches. The right pattern and careful technique are often more important than having advanced equipment.
Common Mistakes to Avoid When Sewing a Hat
Even a simple hat can present a few challenges. Avoid these common mistakes for better results:
-
Skipping measurements: Always measure your head and check the pattern sizing before cutting.
-
Using unsuitable fabric: Very slippery or heavy materials may be difficult for beginners to handle.
-
Ignoring seam allowances: Follow the pattern's specified measurements to ensure the pieces fit together.
-
Rushing curved seams: Slow down and reposition the fabric as needed.
-
Skipping pressing: Pressing each seam helps create a smoother, more professional finish.
-
Forgetting to test stitches: Test your thread, needle, and tension on scrap fabric before starting.
Remember that your first hat does not need to be perfect. Each project will help you become more comfortable with fabric handling, curved seams, and finishing techniques.
Conclusion
Learning how to make a hat from a sewing machine is an achievable project for beginners and experienced sewists alike. With a well-fitting pattern, suitable fabric, careful measurements, and a few basic sewing techniques, you can create a practical accessory that reflects your personal style.
Start with a simple bucket hat, practice your seams, and experiment with different fabrics and decorations as your confidence grows. Once you understand the basics, you can explore more advanced hat styles and personalized designs.
At Prizzi Sewing, building your sewing skills begins with choosing projects that inspire you. Gather your supplies, prepare your machine, and start creating a hat that is uniquely yours.