
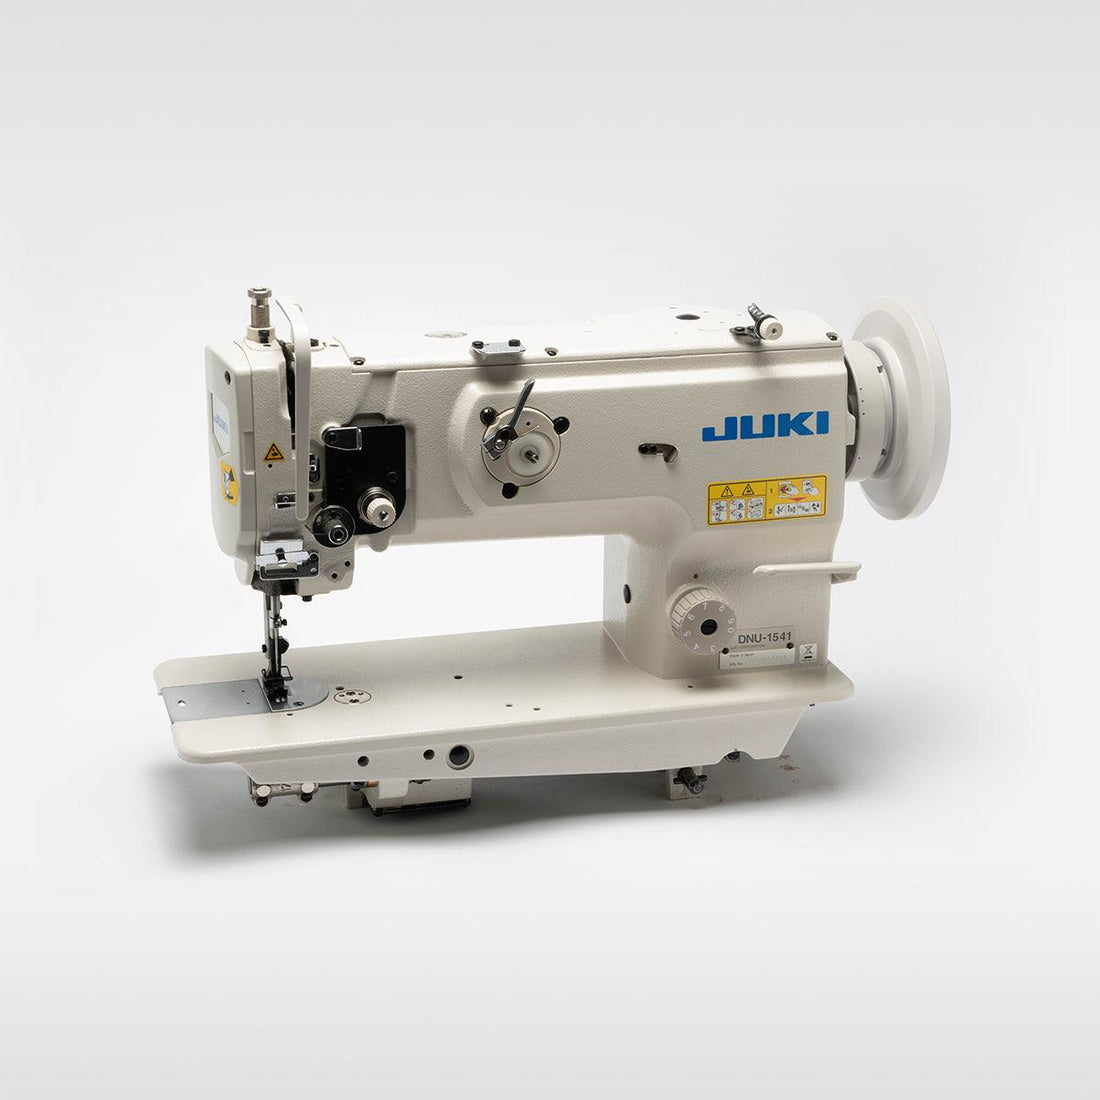

Bag making is one of the most rewarding sewing projects: it's useful, quick to finish, and easy to customize. Beginners can start with a simple tote, while experienced sewists can add zippers, pockets, and structured panels. A sewing machine produces strong, even seams far faster than hand stitching. Here's how to make a bag with a sewing machine, from materials to finishing touches, including a protective bag for the machine itself.
Explore also: Collections of sewing machines for bags
What You Need to Make a Bag
-
A sewing machine and needles suited to your fabric
-
Fabric and matching thread
-
Scissors or a rotary cutter
-
Measuring tape and ruler
-
Pins or fabric clips
-
An iron and ironing surface
-
Optional: handles, webbing, zippers, buttons, or magnetic snaps
Choosing the Right Fabric
Cotton and other lightweight fabrics suit simple, foldable bags and are easy to handle. Canvas, duck cloth, denim, and upholstery fabrics create structured bags that hold their shape. Match fabric weight to your machine: most home models sew medium-weight fabrics easily but may struggle with several layers of heavy canvas. Fusible interfacing adds body to soft fabrics, while a lining hides raw seams and gives the inside a neater finish.
How to Make a Bag With a Sewing Machine: Preparation
Decide on the size and style first. Measure accurately and draw a simple pattern on paper, or use a ready-made one. Add a ½-inch (1.2 cm) seam allowance to every edge, plus extra at the top for the hem. Cut along the grain and label each piece. Before starting, insert the right needle, wind the bobbin, and test stitch length and tension on a scrap of the same fabric.
Steps of How to Make a Bag With a Sewing Machine
-
Cut and organize the pieces: main panels, lining, handles, and pockets.
-
Add pockets or closures to the panels while they're still flat.
-
Sew the main panels right sides together along the sides and bottom.
-
Create the bottom and corners. Pinch each bottom corner into a triangle, stitch across, and trim for a flat base.
-
Sew the lining the same way, leaving a 4-inch gap in the bottom seam for turning.
-
Prepare the handles by folding and edgestitching fabric strips, then baste them to the outer bag's top edge.
-
Join the lining and outer bag. Place the outer bag inside the lining, right sides together, and stitch around the top.
-
Turn and press. Pull the bag through the gap, close it, press thoroughly, and topstitch the upper edge.
How to Sew a Bag With a Sewing Machine
Use a straight stitch of 2.5–3 mm, lengthening it slightly for thick layers. Keep the fabric edge aligned with the needle plate guide to maintain a consistent seam allowance. Backstitch at the start and end of every seam, and reinforce handles with box-X stitching. Press each seam before crossing it with another, since flat seams are easier to sew and look cleaner. Sew at a steady pace, guide the fabric rather than pulling it, and trim threads as you go.
How to Make a Bag for Sewing Machine
Learning how to make a bag for sewing machine protection starts with measuring the machine: width, height, and depth, including the handwheel and spool pin. Add 1–2 inches to each dimension for padding and seams, and plan an outer pocket for the foot pedal, power cord, and accessories.
Choose durable fabrics such as canvas, Cordura, or quilted cotton. Many home machines weigh 15 pounds or more, so use webbing handles that run down the sides and under the base, and add a stiff insert to strengthen the bottom. A zippered top keeps out dust during transport, while a lighter cover may be enough for storage.
How to Sew a Sewing Machine Bag
When working out how to sew a sewing machine bag, follow the same basic process with a few upgrades. Quilt the outer fabric to batting or foam for padding, then sew the front and back panels to a gusset strip that forms the sides and base. Add a lining to cover the seams and padding. Stitch the webbing handles with box-X reinforcement at every attachment point. Before final stitching, baste the bag and test it over the machine, since padding takes up more space than expected.
How to Make a Leather Bag: Sewing Machine Setup
Leather doesn't fray, but every needle hole is permanent, so mistakes can't be unpicked invisibly. When learning how to make a leather bag with a sewing machine, use a wedge-point leather needle, heavy polyester or bonded nylon thread, and a Teflon, roller, or walking foot to prevent sticking. Set the stitch length to 3–4 mm, as shorter stitches perforate the leather. Hold layers with clips or tape instead of pins, and always test settings on scrap leather.
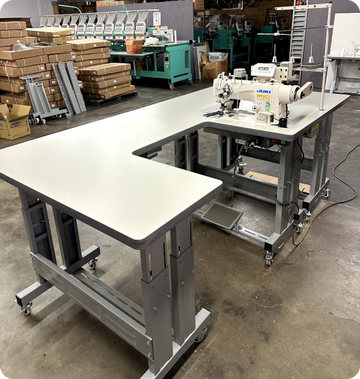
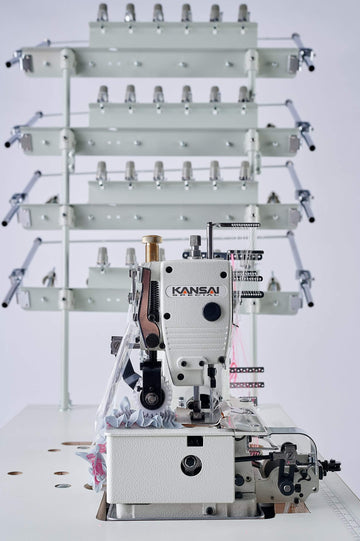
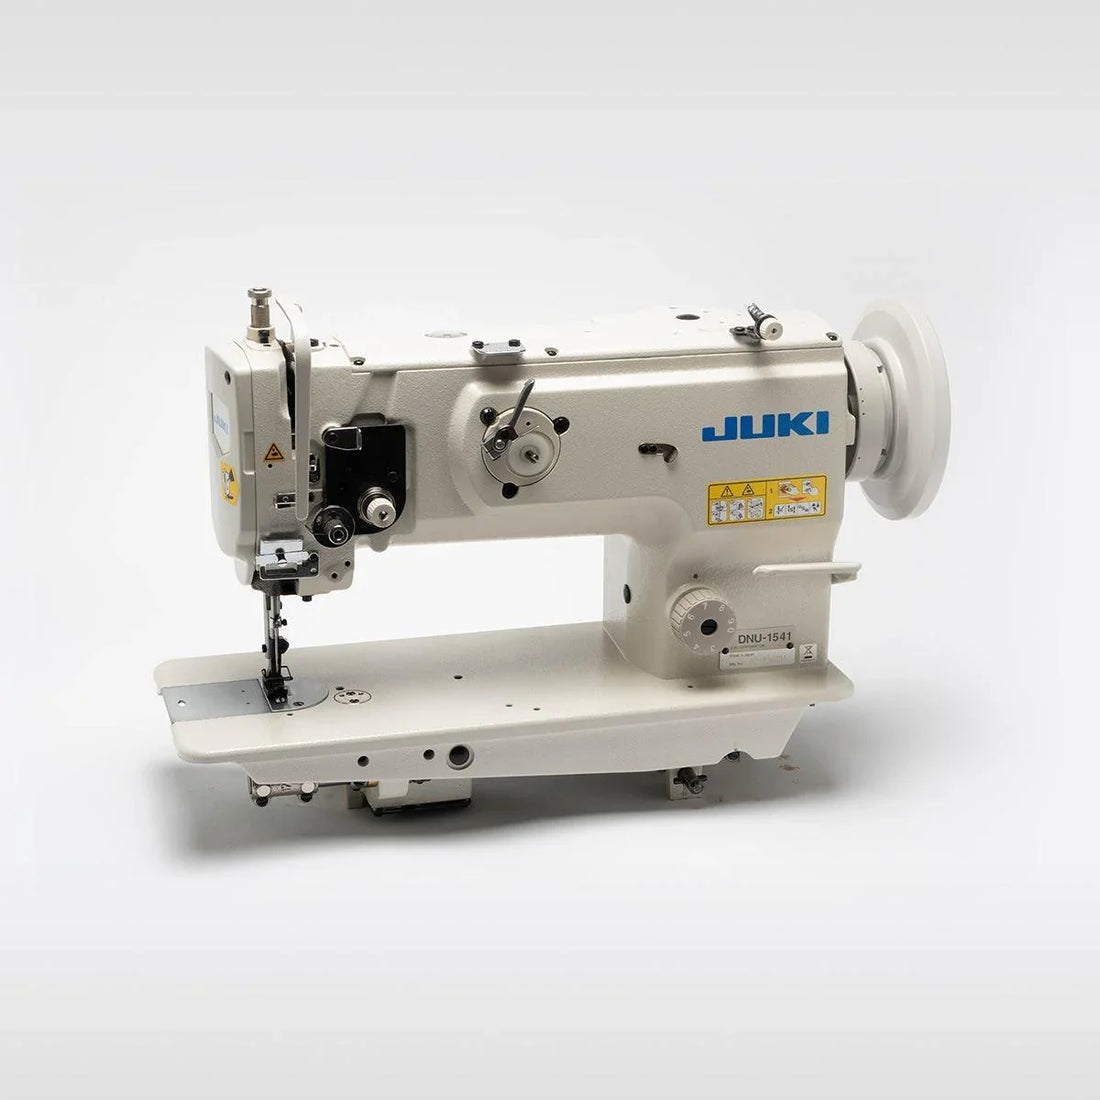
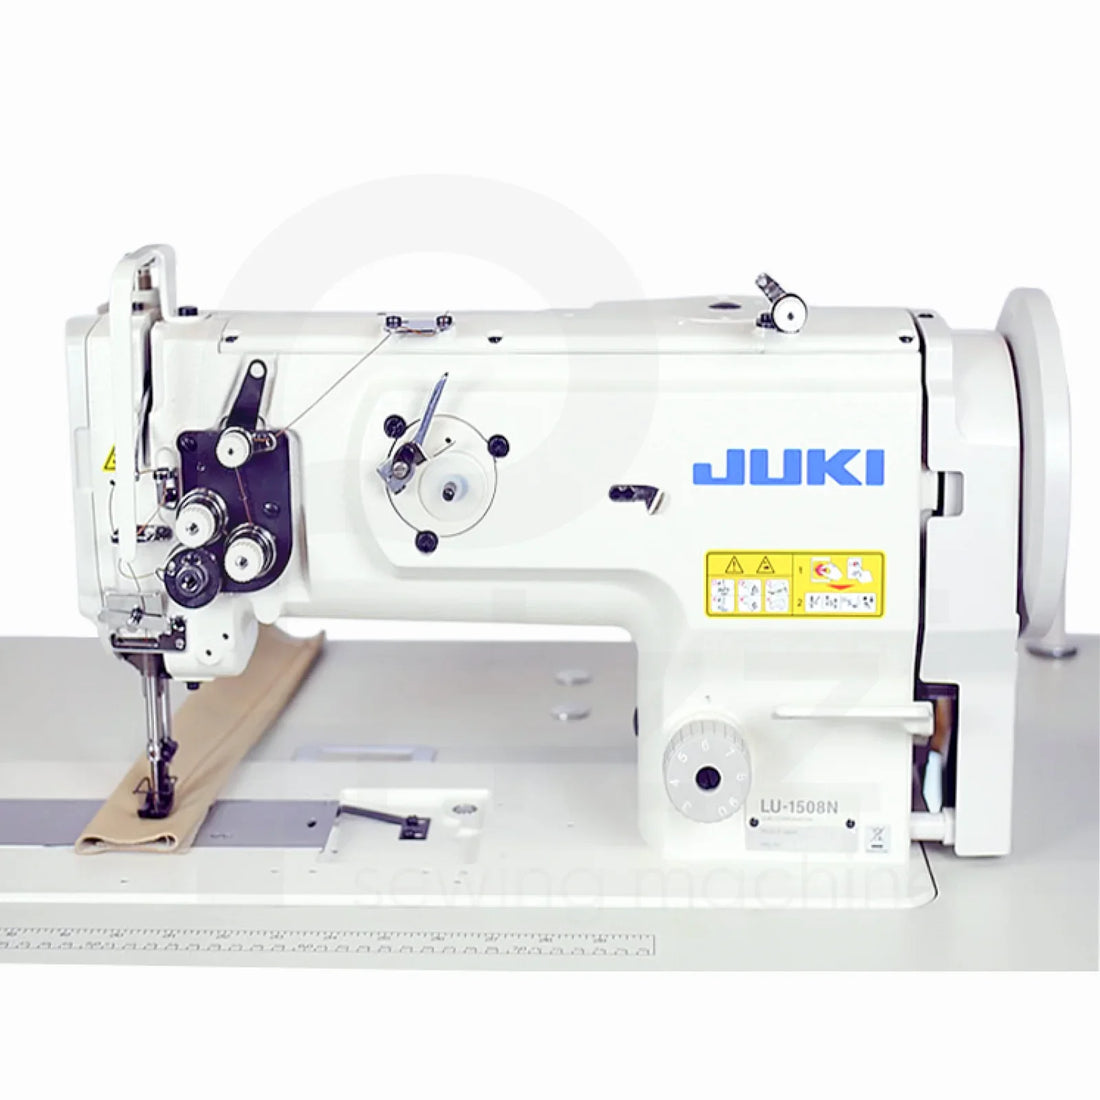
A sturdy home machine can handle thin garment leather, but thick leather or multiple layers call for a heavy-duty, industrial, or commercial machine. Forcing a domestic machine beyond its limits can damage it and may not be covered by the warranty.
Read Also: How to Make a Tote Bag With a Sewing Machine: Step-by-Step Guide
Tips for Better Quality and Durability
-
Match the needle and thread to the fabric.
-
Reinforce handles and corners.
-
Keep seams straight and consistent.
-
Press throughout construction.
-
Slow down over thick sections, using the handwheel if needed.
-
Work on a stable sewing table that supports the bag's weight.
-
Choose fabrics within your machine's capabilities.
Conclusion
Whether you're learning how to sew a bag with a sewing machine for everyday use or how to make a sewing machine bag to protect your equipment, the core process stays the same: measure accurately, choose suitable materials, sew careful, reinforced seams, and press as you go. Start with a simple design, and each finished bag will build the skills for the next.