

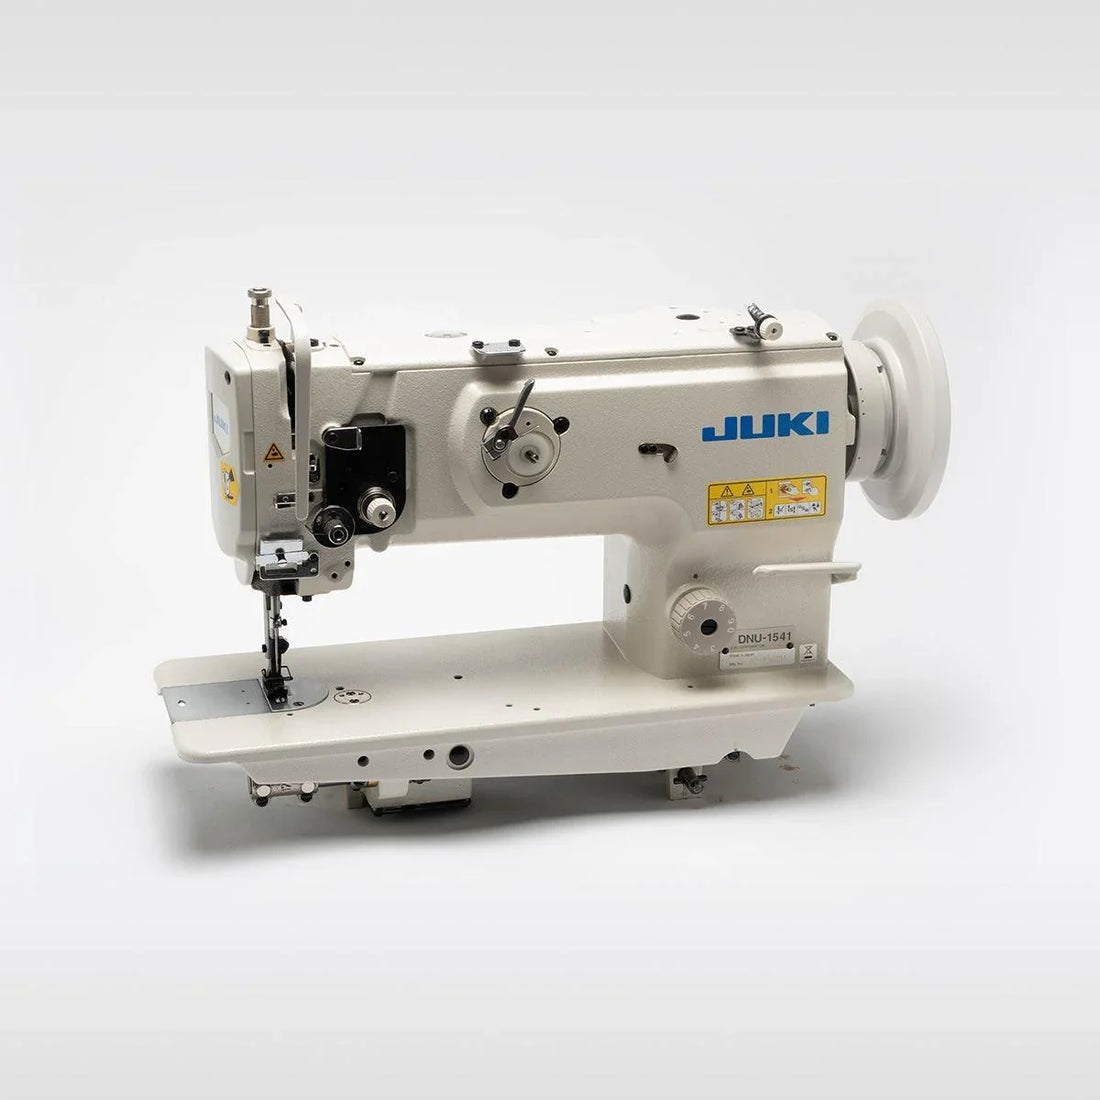
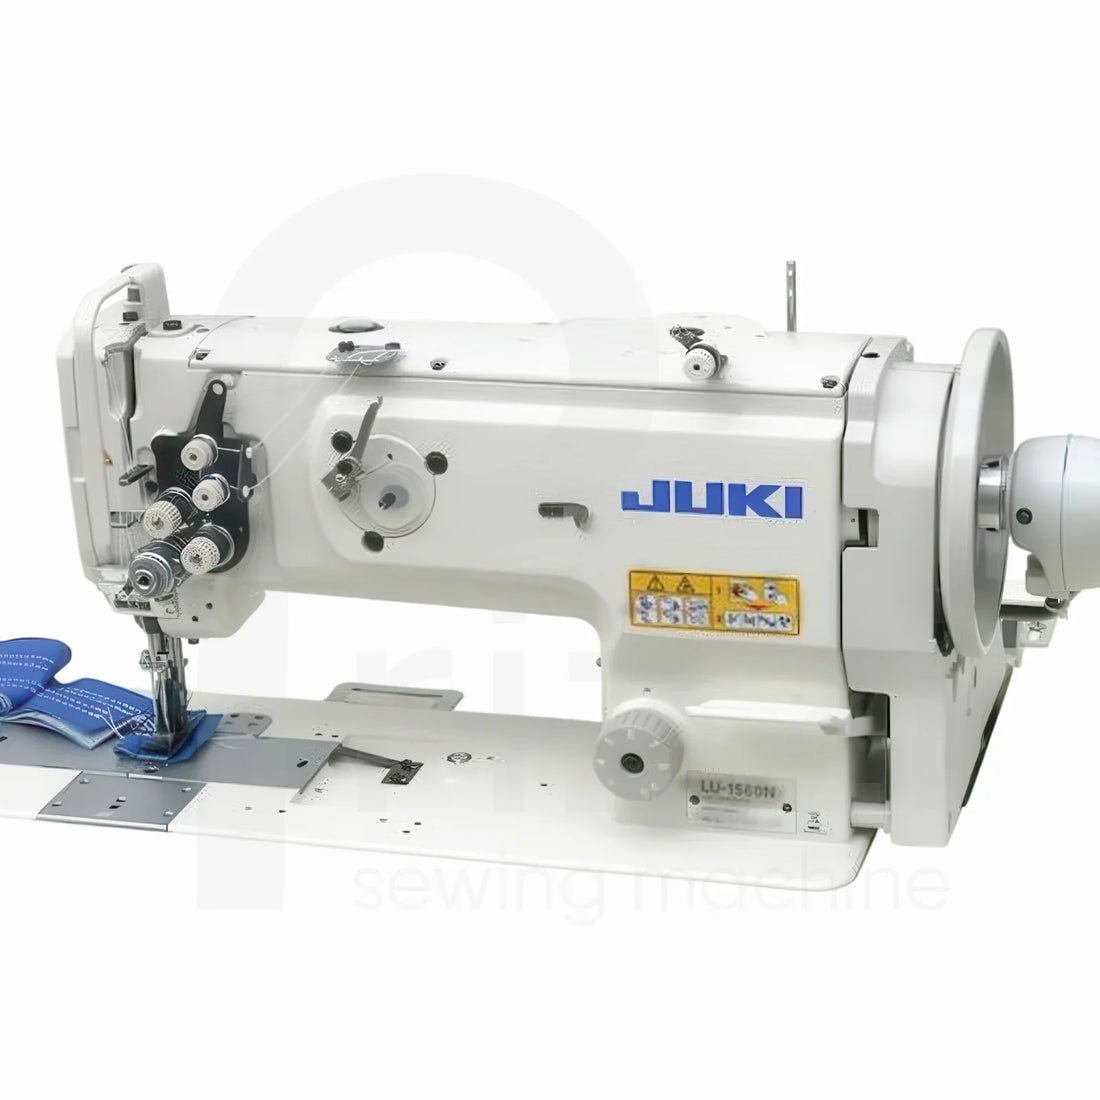

Leather is a durable, versatile material that can transform ordinary sewing projects into beautiful, long-lasting products. From handbags and wallets to upholstery, clothing, and accessories, leatherwork offers endless creative possibilities. However, sewing leather requires different techniques, tools, and machine settings than sewing ordinary fabric.
If you want to achieve professional-looking results, understanding your equipment is the first step. In this guide, we explain how to use a leather sewing machine, choose the right needle, prepare your materials, and work with specialized leather sewing tools.
Whether you are a beginner or an experienced sewing enthusiast, these practical tips will help you create stronger seams and cleaner finishes.
1. Choose the Right Leather Sewing Machine
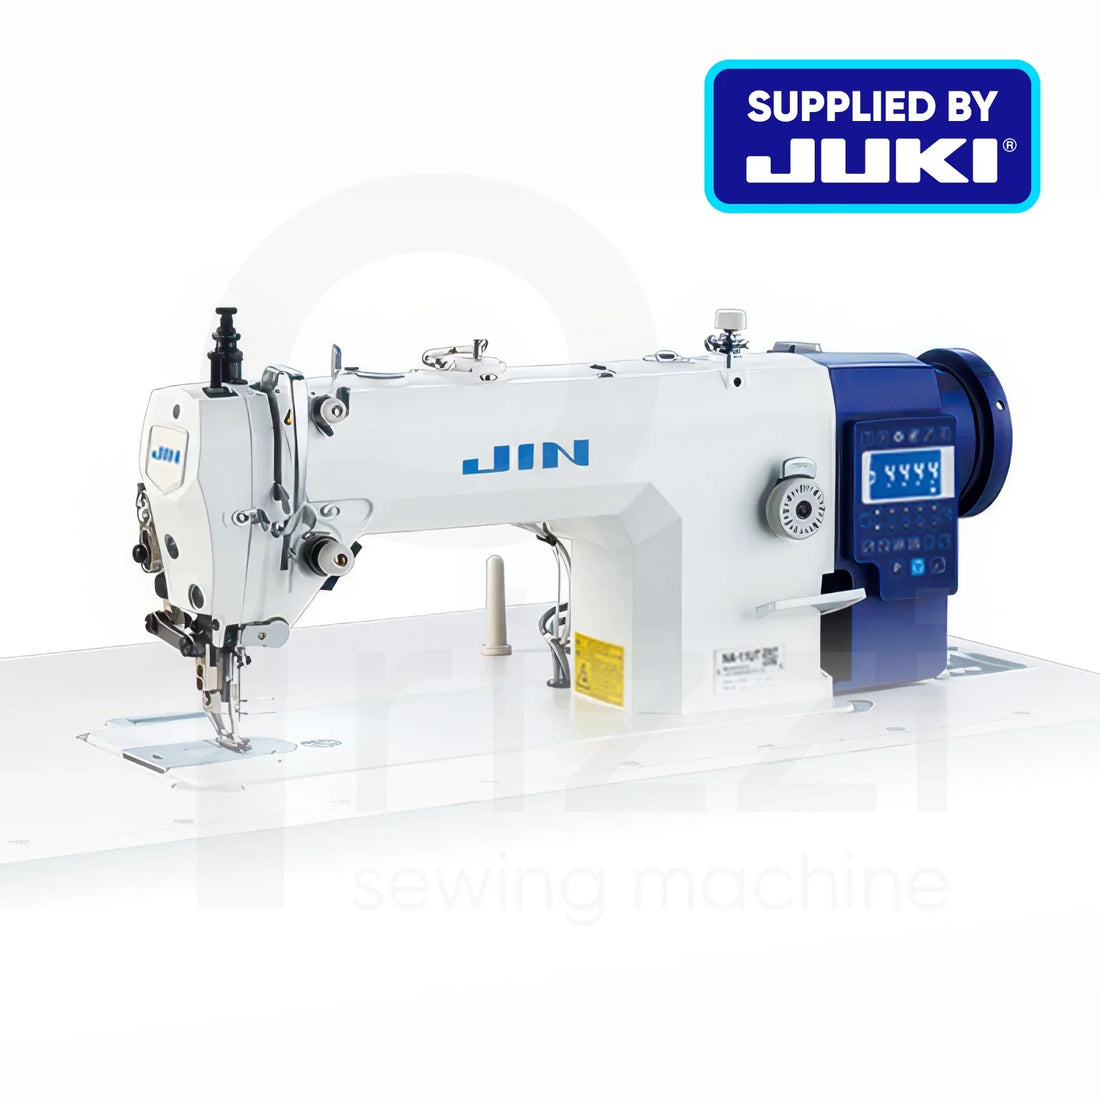
Before learning how to use a leather sewing machine, determine whether your equipment can handle your chosen leather. Thin garment leather and soft leather accessories may be suitable for some domestic machines, while thick leather, multiple layers, and heavy-duty projects generally require specialized industrial equipment.
When selecting a machine, consider the following factors:
-
Motor power: Dense leather requires sufficient needle-piercing power.
-
Feeding mechanism: A walking-foot or compound-feed machine helps move multiple layers evenly.
-
Needle compatibility: Your machine must support the correct leather needle system.
-
Thread capacity: The machine should accommodate the thread thickness needed for your project.
-
Stitch adjustment: Adjustable stitch length and thread tension help produce consistent seams.
A suitable machine makes it easier to sew smoothly without skipped stitches, uneven feeding, or unnecessary strain on the equipment.
2. Prepare Your Leather and Sewing Area
Good preparation prevents mistakes that may be difficult to correct later. Unlike woven fabric, leather retains needle holes, so careful measuring and marking are essential.
Start by cutting your leather pieces according to your pattern. Use an appropriate cutting tool and a stable cutting surface to create clean edges. Mark your stitching lines with a suitable leather marker or leatherworking tool.
Next, secure the pieces together. Avoid ordinary straight pins because their holes can remain visible in the finished product. Sewing clips, removable leatherworking tape, or suitable adhesive can hold the layers in position without damaging the material.
Before beginning your project, test the machine on a scrap piece of the same leather. This allows you to check the needle, thread, stitch length, tension, and feeding performance before sewing your final piece.
3. How to Use a Leather Sewing Needle
Knowing how to use a leather sewing needle correctly is essential for achieving neat, durable stitches.
Leather sewing needles are designed differently from standard fabric needles. Many feature a cutting point that creates a small slit through the leather instead of simply pushing between woven fibers. The correct point and needle size depend on the leather, thread, and machine.
Follow these steps:
-
Select the correct needle. Check your machine manual for the compatible needle system, then choose an appropriate leather point and size.
-
Switch off the machine. Disconnect the power before replacing the needle.
-
Insert the needle correctly. Follow the machine manufacturer's instructions for orientation and insertion depth.
-
Thread the machine. Use suitable, durable thread compatible with the needle and project.
-
Test your stitches. Sew on scrap leather and examine the stitch formation on both sides.
A needle that is too small may struggle with thicker thread, while an oversized needle can leave unnecessarily large holes. Replace bent, damaged, or dull needles promptly.
Remember that needle systems are not interchangeable across all machines. Always verify compatibility before purchasing replacements.
4. How to Use a Leather Sewing Pin Wheel
A leather sewing pin wheel, often called a stitching wheel or pricking wheel, helps mark evenly spaced stitch positions before sewing by hand or machine.
This tool is particularly useful for wallets, belts, bags, and decorative leather projects where consistent spacing improves the final appearance.
To use a leather sewing pin wheel:
-
Place the leather on a stable, flat work surface.
-
Mark the intended stitching line using a ruler and an appropriate marking tool.
-
Select a wheel with a spacing suitable for your project.
-
Position the wheel along the marked line.
-
Roll it steadily while maintaining even pressure.
-
Inspect the marks before proceeding with stitching.
Use a stitching wheel according to its design. Some wheels leave shallow marks, while pricking wheels or related tools may create more pronounced impressions.
Important tip: Test the tool on a scrap piece first. Leather marks can be permanent, and consistent spacing is much easier to achieve when you work slowly.
5. How to Use a Leather Sewing Tool Effectively
Learning how to use a leather sewing tool involves understanding which tool performs each task. Leatherworking typically combines measuring, marking, cutting, holding, stitching, and finishing tools.
Some useful options include:
-
Leather awl: Creates or guides stitching holes during hand-sewing preparation.
-
Stitching wheel: Marks consistent stitch spacing.
-
Cutting knife: Produces clean edges when used with an appropriate cutting surface.
-
Sewing clips: Secure leather pieces without leaving pinholes.
-
Leather adhesive: Helps stabilize seam allowances when compatible with the material and project.
-
Edge-finishing tools: Smooth and refine exposed leather edges.
Choose tools according to the leather thickness and the type of product you are making. Keep cutting tools sharp, store needles safely, and use protective equipment where appropriate.
Using the correct tool for each stage improves accuracy and reduces the risk of damaging expensive leather.
6. How to Use an Industrial Sewing Machine for Leather
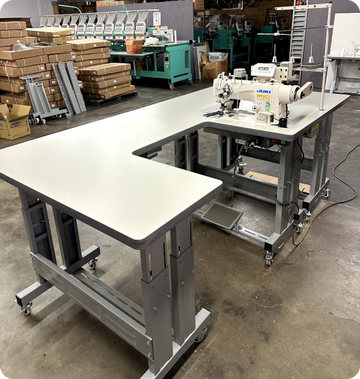
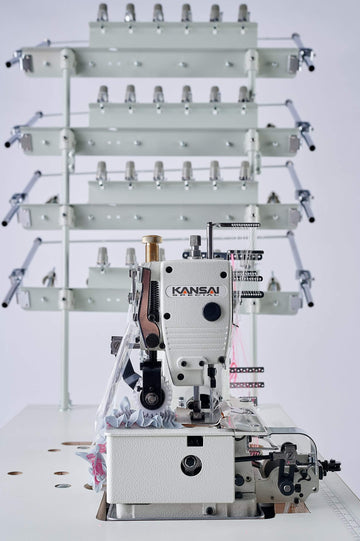
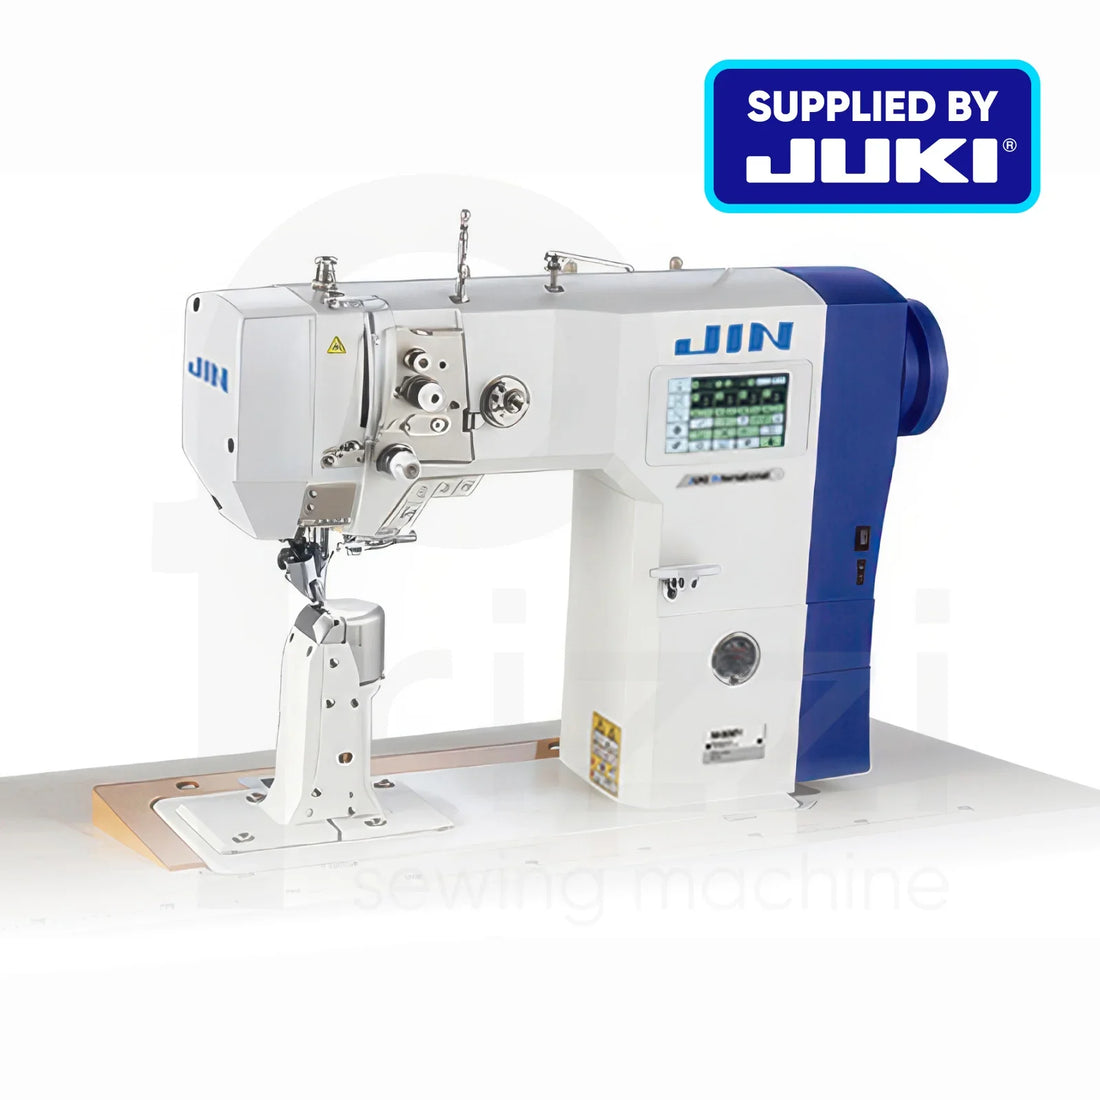
If you plan to sew thick leather, upholstery, saddlery, or heavy bags, you may need to learn how to use an industrial sewing machine for leather.
Industrial leather sewing machines are designed to handle demanding materials and repeated production work. Depending on the model, they may feature a walking foot, compound feed, a powerful motor, and the ability to use heavier thread.
Begin by reviewing the machine manual and confirming that your machine is designed for your material's thickness.
Next, prepare the equipment:
-
Install the correct needle system and leather needle.
-
Thread the machine according to the manufacturer's instructions.
-
Select a suitable thread and bobbin combination.
-
Adjust stitch length and tension on scrap leather.
-
Position the leather beneath the presser foot.
-
Lower the presser foot and hold the thread tails as recommended by the manual.
-
Turn the handwheel manually, if appropriate for your machine, to check the initial needle movement.
-
Sew slowly, guiding the leather without pulling or forcing it.
For many leather projects, a stitch length around 3–4 mm is a useful starting point, but the ideal setting depends on the leather thickness, stitch purpose, and machine. Longer stitches can help avoid creating a closely spaced perforation line that weakens the material.
Avoid forcing the machine through thick seams. If the needle struggles or the machine jams, stop and investigate rather than applying additional pressure.
Explore: Industrial Sewing Machine to Sew Through Leather
7. How to Use a Curve Needle for Sewing Leather
A curved sewing needle is useful for certain hand-sewing and repair tasks where a straight needle is difficult to maneuver. It can help with curved surfaces, upholstery repairs, and stitching in confined spaces.
To use a curve needle for sewing leather, begin by selecting a needle with a curve and size suitable for the leather and thread.
Follow these steps:
-
Mark the stitching line before beginning.
-
Secure the leather so it does not move while you work.
-
Insert the needle carefully along the planned stitching path.
-
Follow the needle's curve as you guide it through the material.
-
Pull the thread through gently, avoiding excessive force.
-
Maintain consistent stitch spacing and tension.
A curved needle is generally intended for hand sewing rather than installation in a sewing machine. For machine-sewn curves, guide the leather gradually and use the appropriate machine needle.
Because leather holes remain visible, plan the stitching path carefully before making the first hole.
8. Common Leather Sewing Mistakes to Avoid
Even with the right machine and tools, a few common mistakes can affect your results.
Using the wrong needle: An incompatible or unsuitable needle can cause skipped stitches, damaged leather, or breakage.
Choosing stitches that are too short: Closely spaced holes can weaken leather along the seam. Test a longer stitch length first.
Pulling the leather while sewing: Let the machine's feeding mechanism move the material. Pulling can distort the seam and affect stitch formation.
Skipping test stitches: Always test on comparable scrap leather before sewing your finished product.
Using excessive speed: Slower sewing gives you better control around corners, thick seams, and precise stitching lines.
Ignoring maintenance: Clean your machine as directed, remove accumulated debris, and replace worn needles and other damaged components when necessary.
Read Also: How to Make a Bag With a Sewing Machine: A Complete Guide
9. Final Tips for Better Leather Sewing Results
Successful leather sewing depends on preparation, patience, and the correct combination of equipment and materials.
Start with leather your machine can handle, select compatible needles and thread, and practice on scrap pieces before moving to complex projects. Use marking tools to plan stitch placement, avoid unnecessary holes, and maintain a steady sewing speed.
As your confidence grows, experiment with different leather types, decorative stitch patterns, and construction techniques.
At Prizzi Sewing, understanding your tools is an important step toward producing reliable, professional-quality results. With the right approach, you can tackle leather sewing projects with greater precision and confidence.
Ready to improve your leather sewing skills? Explore your sewing equipment and tools, practice these techniques, and build your skills one carefully stitched project at a time.